I managed to finish the sewing portion of my Misato jacket during the weekend. There are still some details to be added, like the badges on her sleeves for example, but nothing major. I made the jacket first because she wears it all the time, but she does change outfit quite many times during the anime. I'm actually choosing between two different outfits of hers, so I'll put up some pictures of the two at the end of this post, and I'd love to hear your opinions on which one looks better :3
Anyway, I'm eager to show you the jecket in all its glory, so here you go, my almost finished Misato Katsuragi jacket;
Aaaaaaand it's not even fully finished in the first picture I decide to show haha. Too bad. I did finish up the sleeves though, you'll find a picture further down~ Anyway, I'm really just trying to showcase the lining here. It was all hand sewn into place since I knew no better way of attaching it haha., but I think it looks really neat (especially after I ironed it. Which was after this pic was taken. Of course. My planning skills get an 11/10).
I wish the collar would have shown better, my stupid hair hides it....
And I found another picture that makes the previous one quite useless. Oh well, in this one I've tried everything on again, however, as you might see, I got my wig in the mail today, yaay. A review is going to appear some time soon, but I won't focus on the wig in this post, it still needs heaps of styling and cutting.
In this picture the collar is quite visible, and I really like how it turned out. Making it was a pain, since I had to make my own bias tape from scratch since I wanted a perfect match with the red color of the jacket, so I didn't even bother checking out the selection of bias tape in the store. BUT, I did come up with some cool tricks for making the painful process of making bias tape just a teeny tiny bit less painful;
So, in this picture I have already folded it the first time, which is the most tideous part of the process, but I used the exact same technique for that. I'll explain what's going on in this picture in a little more detail. First I started out with a 4 cm wide fabric strip that I cut on the bias of the fabric well yeah, it's called bias tape for a reason. I then folded it in half and ironed it just slightly so I'd get a crease in the middle of the strip. Then the oh so painful process of folding over the edges to achieve the look in the picture started, but this is where I managed to save myself some frustration using a heavy book (great use for your school litterature btw). I folded the edges and pressed them with a hot iron, and then as soon as I lifted the iron I placed the pressed, hot part under a book. This way the fabric cools down under the pressure of the book, and you get nice flat bias tape instead of having the edges you so carefully folded and pressed stand right up like this -> \__/ This is really useful when working with heavier fabrics that don't want to stay put no matter what. Eventually the bias tape will start sticking out on the other end, and you have yourself a nice little bias tape pressing machine, just pull the end sticking out and the parts you just pressed will slide in under the book.
Or you could just buy a bias tape maker. If you don't know what it is, look it up. It will amaze you. I would have ordered one if I wasn't so eager to work on this costume. I didn't want to wait weeks for it to arrive.
Now that I got that off my chest, back to jacket pictures;
Here are the infamous sleeves, zipped and unzipped. She never wears her sleeves zipped, but I thought it'd be a cool addition to the costume to have zippable sleeves. They did put zippers there in the design after all.
Oh, and I made her necklace pendant too, that wasn't a very interesting process, I made it out of some grey clay, and here is the result:
Yes, very interesting indeed. It is not perfect and I might remake it since I have more clay, but I'll see how I feel about it later.
I'll finish with an oh so not sexy selfie. However, this picture also gices you some visuals of the collar, even if it is a bit crooked since well, selfie stance. I did a quick Misato makeup test as well since I got the wig and all. I'm definately going for less sharp eyebrows the next time. I have never cosplayed a character that is supposed to look much older than myself before, so this is unknown territory. Misato is 29, that's a 10 year difference... I've only cosplayed teens (or otherwise really young looking characters) before, but I'll try to look up some tips and tricks on how to look older. Then again, Misato is pretty youthful after all, so maybe it won't be that hard to get a good makeup look going. This is not quite it though.
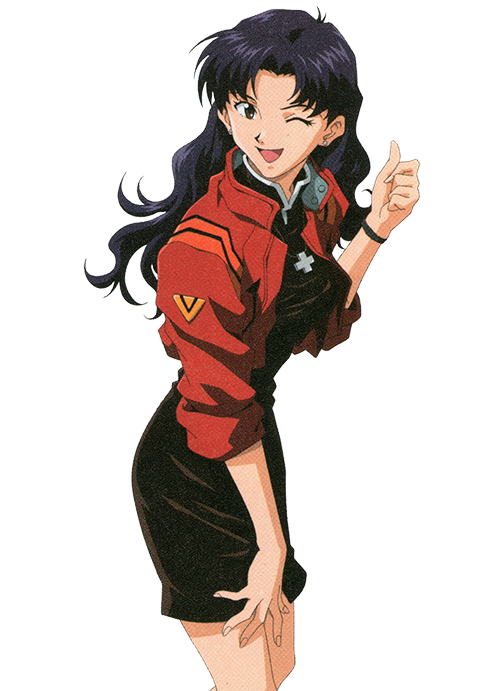
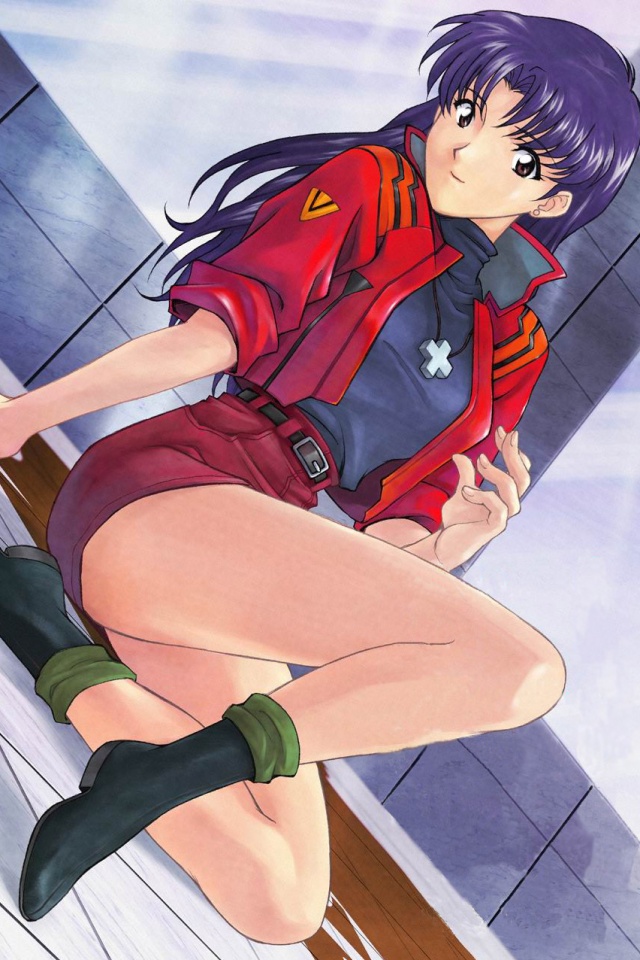
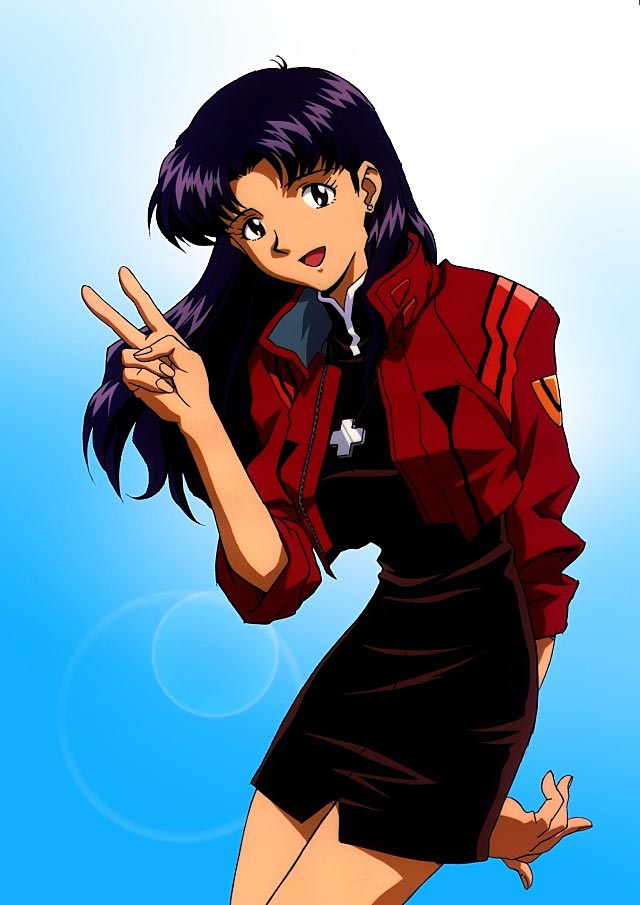
And finally (yeah I said I'd finish but I wasn't really done. Psyche.), the two options I have for her outfit. I'd love to hear your opinions on which one to make, I really am having trouble deciding.
A black dress with some white details, pretty straightforward, or
this version, with a skirt and a black polo shirt.
The second pic is not an official one, but you get the general idea. The one with the dress is probably a bit more common, but she does wear both outfits in the anime multiple times~
Now I promise I'll quit writing. This have been a very text heavy post, but hopefully you enjoyed the progress pictures and my awesome bias tape making tip. As I said, a wig review is going to be posted in a few days, see you then~
/Amanda


